Setting aright mistakes from the past.
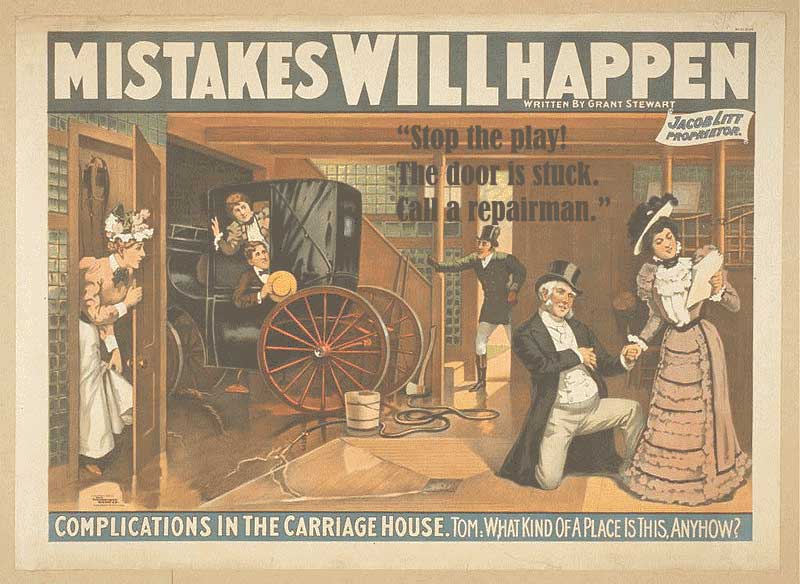
I found this hilarious playbill advertisement while browsing for carriage house images. It sets the tone very nicely for this report on a "new hobby" of mine-fixing sliding doors on carriage houses. However it wasn't quite "perfect", so I gave the coachman some lines! :-)
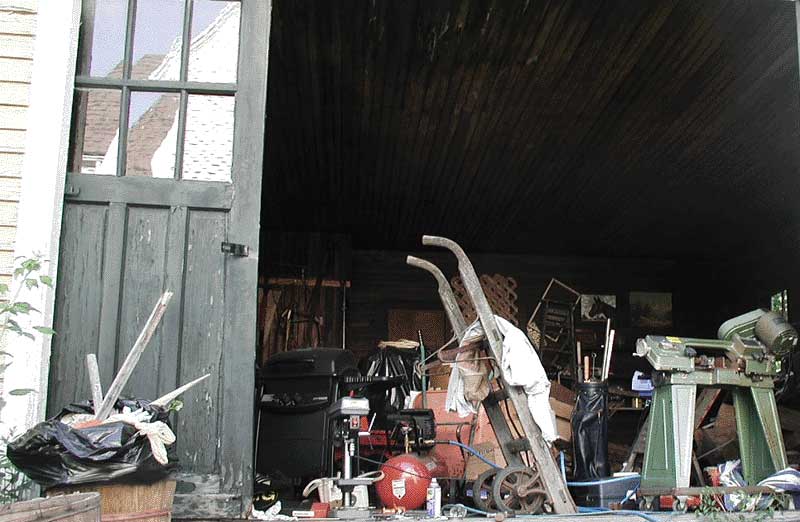
As I said on the homepage; in an area of Boston which is rich in Victorian era homes, the customers, who are active gardeners, could hardly enter their carriage house. The doors were dragging on the floor. Here's why they could barely move the doors.
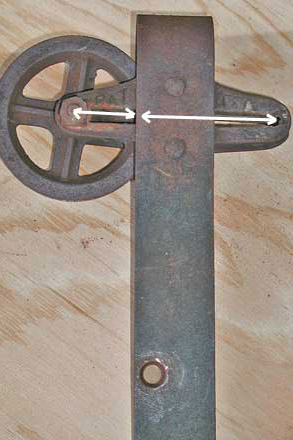
Before the appearance of ball bearings, door hangers relied on "anti-friction" frames. The axle rotates within the slot of the hanger while the door is moving.
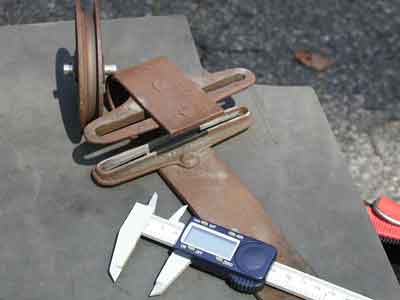
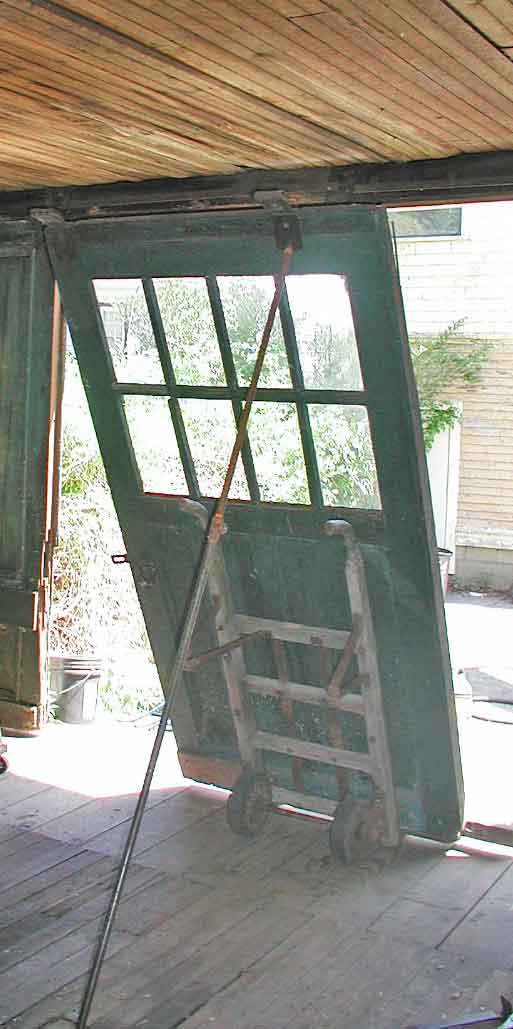
This photograph illustrates where the wheel is supposed to roll-from one side to the other-passing under the arched top-a long steel strap which is bent in a U-shaped or J-shaped arch. However, someone's bad repair...which is plainly visible in the next photo...created some problems while attempting to prolong the life of the hanger.
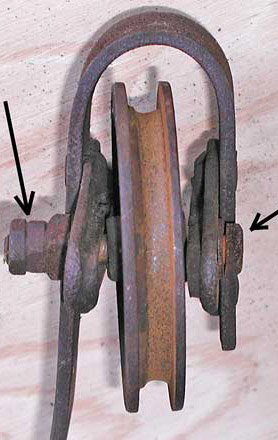
Apparently the original axle wore out and somebody used an ordinary hardware store bolt. MISTAKES WILL HAPPEN!! The bolt head sticks out beyond the anti-friction slot. Go back to the picture above with the white arrows and you will see that after this "repair", two thirds of the anti-friction slot was inaccessible-the bolt head/bolt nuts collided with the hanger frame and the wheel was not able to roll onwards to the opposite side of the hanger frame. Therefore the wheel & axle were "skidding" much of the time.

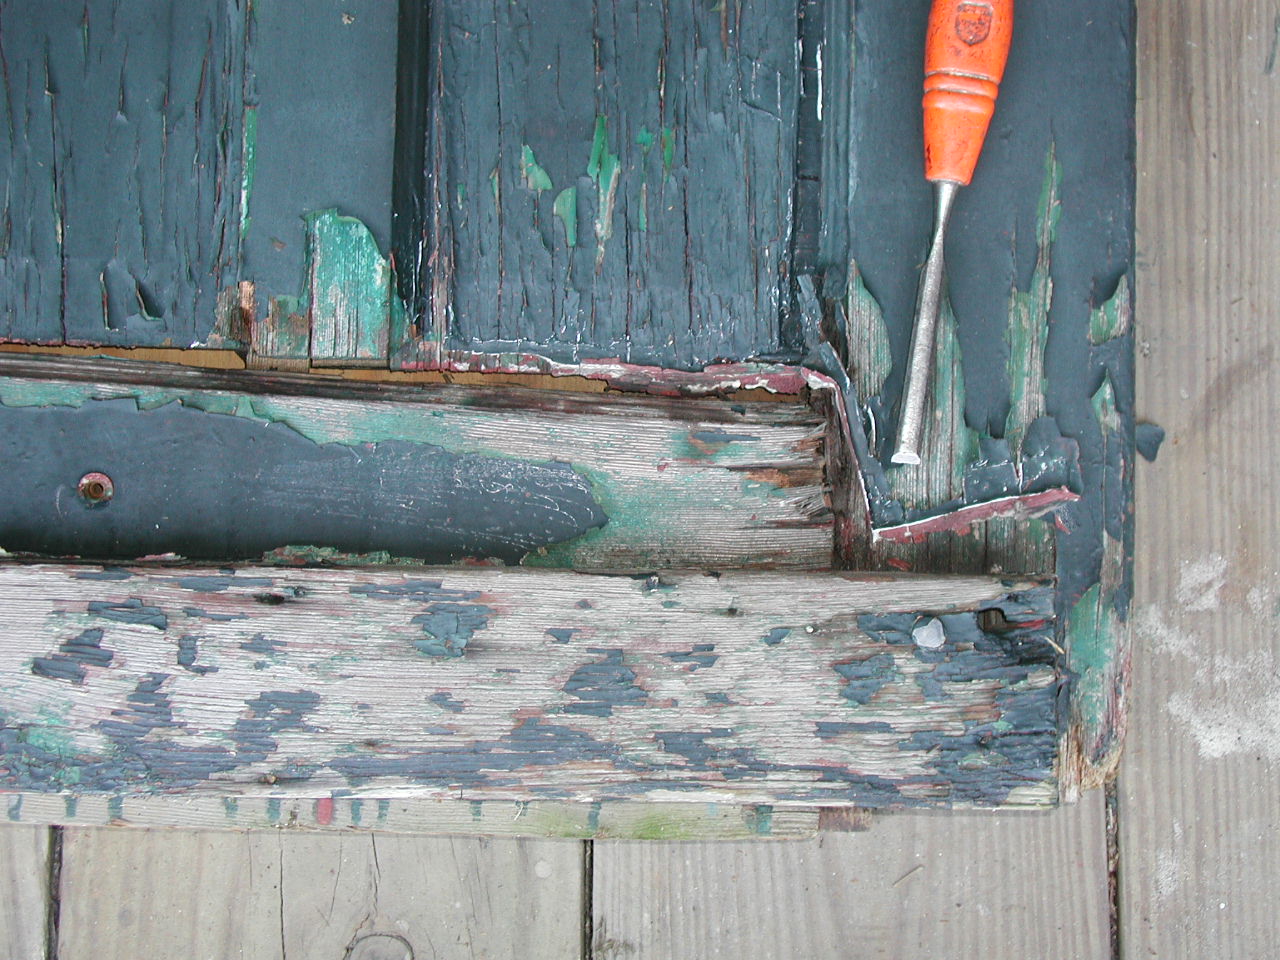
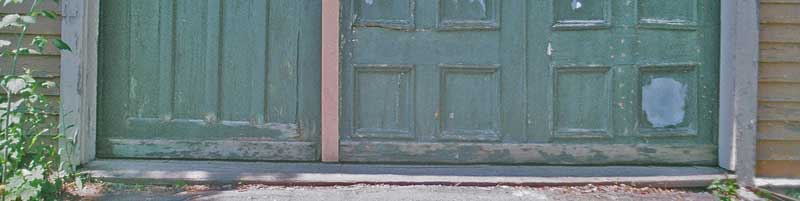
This carriage house had mismatched doors. See to the left...how the 4 ft. door had come apart at the wood joint and was dragging on the floor. The 6 ft.wide door was dragging because the track had slumped down...plus, it was difficult to push open because of the problem with the hanger axle (illustrated above.

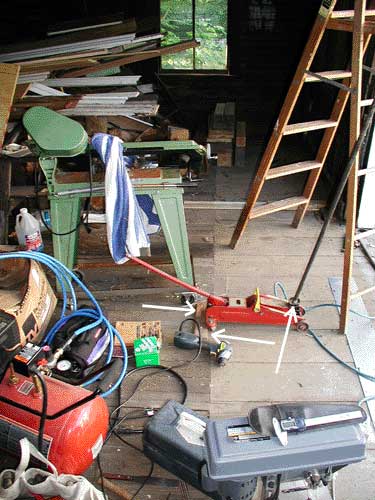
The repair took two days. Basically I had to "lay siege" to the problem. These are the major tools/equipment used...an air compressor with a sandblaster, a drill press, a metal cutting bandsaw, an oxy/acetylene tank outfit for heating and bending metal, a hydraulic car jack and my antique "station two wheeled hand truck".
Every major tool was used for the new axle/hanger frame repair-torch, sand blaster, drill press & metal bandsaw. Once the wheel was freed, it received this new axle made of specially hardened steel rod-"drill rod." The goal is to achieve proper clearance for the axle to roll back and forth. No lubrication is necessary.
Next, the track for the big door was unfastened (where necessary), repositioned and reattached with the original screws (plus some "makeup screws") using new holes drilled in the carriage house header (stout horizontal framing member). The track was raised a mere 5/8" or so-a little less than the diameter of a penny.
A simple car jack and lengths of 3/4 inch size black iron threaded pipe were used to raise the track carrying board. In the bottom of these two photos, you can see a short board behind the red car jack. Because the pipe was at an angle, I had to fasten a cleat to the floor to prevent the hydraulic jack from skidding away while raising the track.
Also, where necessary the track was shimmed to straighten it and to provide better clearance for the flanged iron wheels.
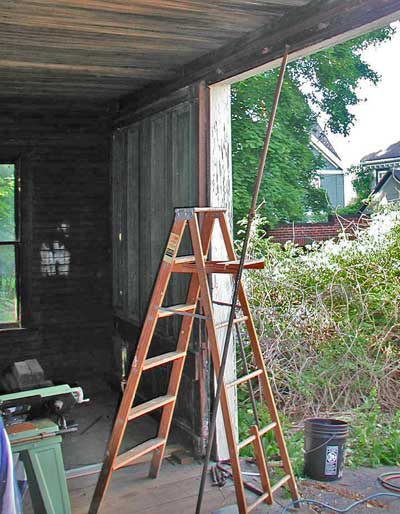
As I remember...there were a lot of trips up and down the ladder that day! Now-for my "favorite-est" part-maybe because I was reaching the end.
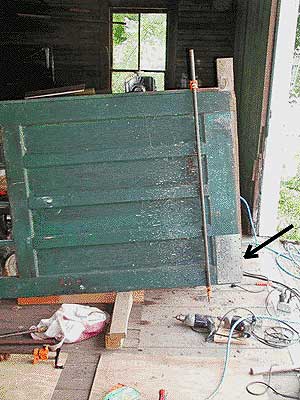
The smaller door was moved sideways off its track and placed on the floor. The opened seam was secured by clamps. A nice thick piece of sheet metal perforated with rows and columns of holes proved to be a permanent, but removable "patch." By the way, this was screwed to the inside of the door. (black arrow)
Both doors clear the floor
& roll well! THE END